Puppy Linux:
What is Puppy Linux
Puppy Linux is a light-weight operating system with main focus on ease-of-use for the regular user. It has a small size of nearly 150-200 MB depending on the version and is small enough to be used from a 512 MB pendrive. It runs entirely from ram and so is faster than other Live-CD distros. Despite of being small it has all the basic softwares that we generally see in a normal linux distro. It has Gparted for partition management, seamonkey and opera for net browsing, pidgin for chatting, ROX-filer for file and window management and a very stable user interface. Installing it is lot easier and faster than most linux distros. See the steps below.
Where to download from ?
Go to the below links and choose the version you like. The latest release at present is "precise 5.7" There are two versions for the download. One is "Precise 5.7" and the other one is "Precise 5.7 retro". The retro version is nearly 45 MB larger than the normal version. This is because the retro version has additional drivers for the old analog modems.
If your modem is latest digital modem then you can download the normal precise version. In case if you have a old analog modem then the better option would be to download the retro iso.
For original version click here
For retro version click here


If your modem is latest digital modem then you can download the normal precise version. In case if you have a old analog modem then the better option would be to download the retro iso.
For original version click here
For retro version click here
How to boot puppy Linux ?
For booting puppy linux you need to make a bootable CD or USB. Here we are going to use a bootable usb, because it is much simpler.
The easiest way to make a bootable USB is by using Unetbootin. You can get Unetbootin by clicking here or from here. If you are in ubuntu you open ubuntu software center and install it from there.
After installing Unetbootin, insert your pendrive and run Unetbootin. A window pops-up like shown in the below image.

Change the options to make it look like this as shown in below image.

After that at the lower most, to the right side of the 'OK' button you can see the drive tab. click on it and choose your USB/pendrive in it and press OK button.


The installation starts and after it completes it asks for rebooting, close any work you are doing and press "reboot" and the system will restart or click "exit" if you want to reboot later.
Now your pendrive is ready to boot puppy linux.
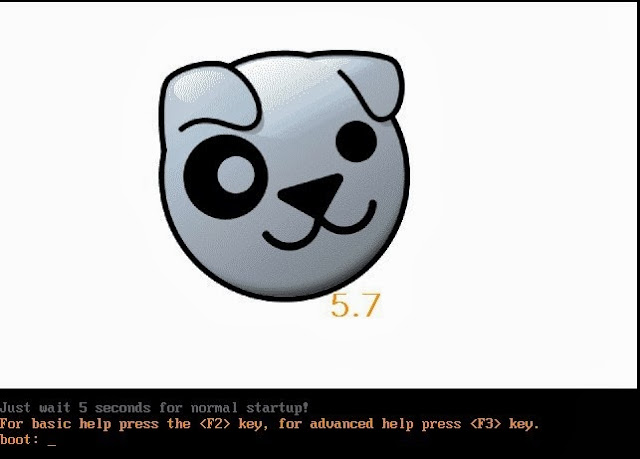
After reboot go to BIOS settings and change boot priority to boot USB first and save settings (in case you haven't done it already) and continue booting. If your boot screen displays something like the in the below image then it means your USB boots properly.
Note: The boot screen may vary for version to version. So if you get a different boot screen then it's not a problem.

No comments:
Post a Comment